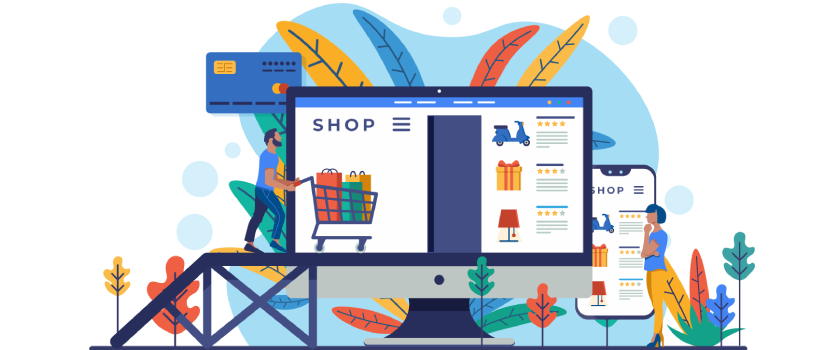
Shopify is a platform that allows you to create an eCommerce store to sell digital and physical products or services. It offers a ton of advantages compared to other e-commerce platforms, some of which include:
- Simple, plug-and-play setup
- No prior technical or coding knowledge required
- Fast, secure, and reliable
- Robust customer support
- Mobile-compatibility
- Ample room for customization
- Multiple app and plugin integrations
- Bundled SEO and marketing tools
- Easy payment handling
Clearly, there’s more than one reason to launch your store on Shopify.
In this article, you’ll learn to create a powerful Shopify store (step by step) that takes your business to the next level.
Let’s get started:
Step 1: Organize Your Business Information
Before starting any venture, it is always smart to collect all your data in a single location for your reference. Checklists are quite handy in making critical information readily available. Start with a checklist that contains:
- Primary business idea and what sets it apart from existing businesses.
- Short but catchy name for your brand (Make sure it is unique)
- Visual elements such as the logo, mascot, etc.
- List of products or services that will go on sale
- Stunning product images and captivating product descriptions.
- List of features and functionalities essential for your store.
We assume that you may have already done your due diligence while shortlisting Shopify as your preferred eCommerce platform. That said, if you are still on the fence, you can always try out the 14-day free trial offered by Shopify or consult us.
Step 2: Sign Up for Shopify
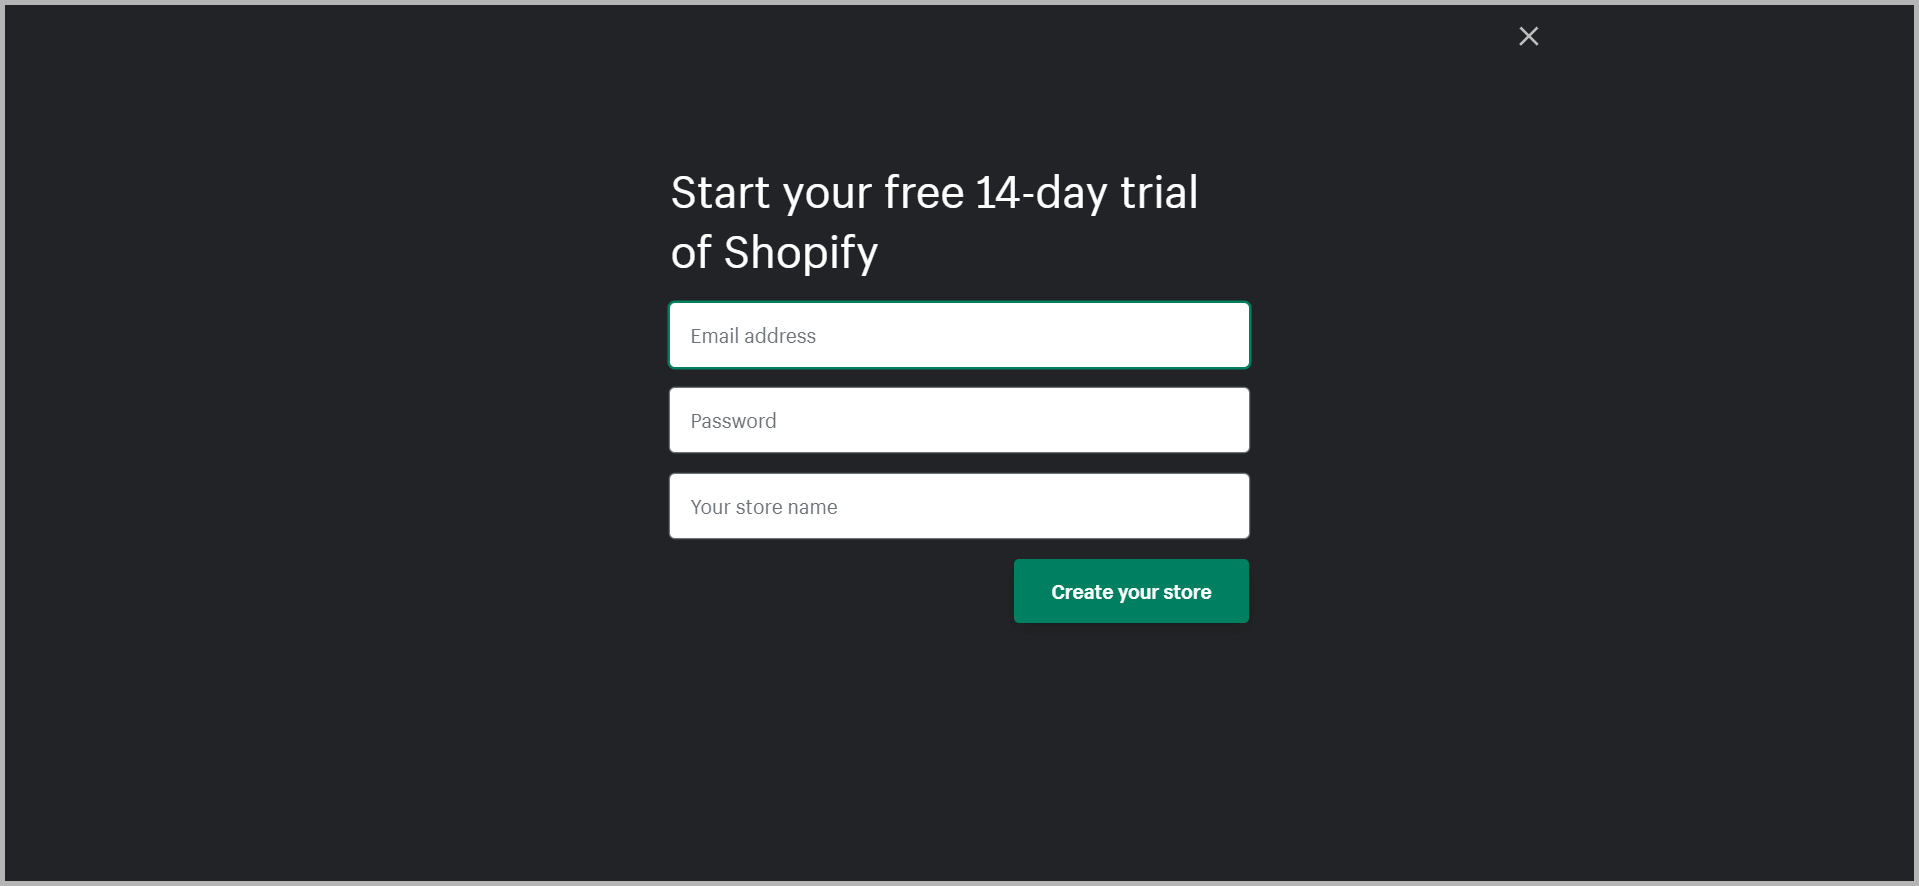
Once you have carried out all the preliminary research, it is now time to kickstart your Shopify journey.
On the Shopify sign-up page, enter your email address to get started with your free trial. After that, enter other details such as your store’s name, your name, your mailing address/physical address of the store, country, contact number, etc.
And that’s all! Congratulations on completing the first step to start a Shopify store!
Step 3: Understand the Admin Panel
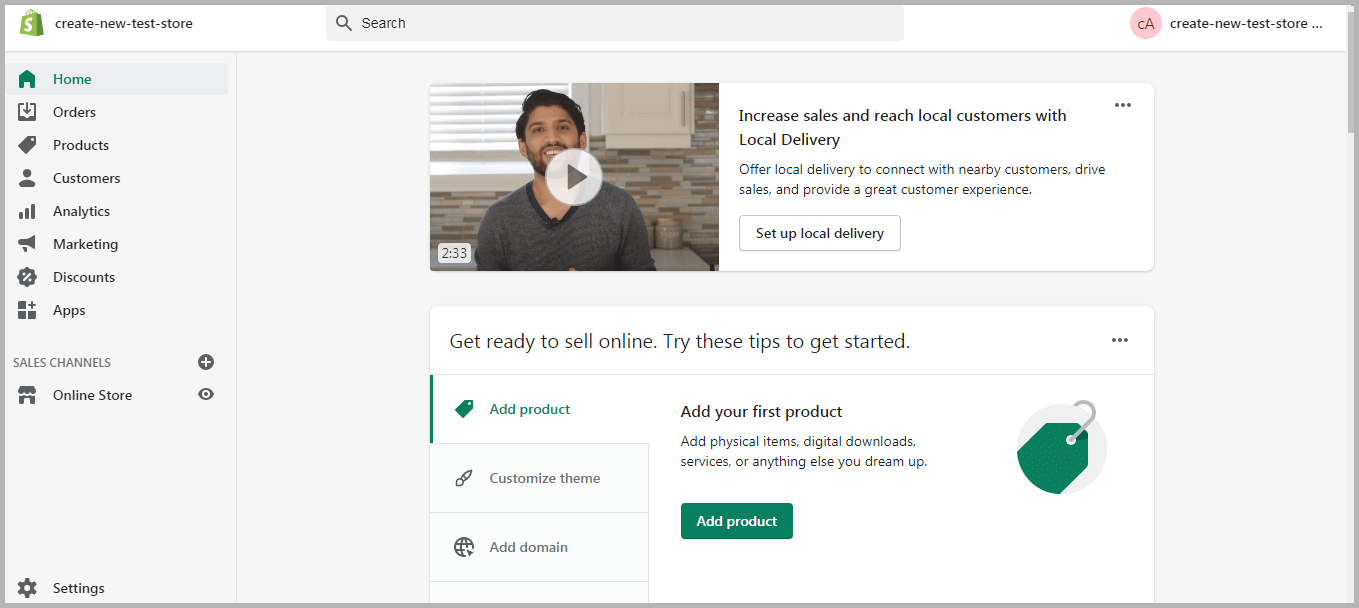
After signup, you will be redirected straight to the admin dashboard. It marks the stage of your Shopify journey where you can start personalizing the store.
Since the Admin Panel will be your playing field, it is best to get familiar with the turf. The primary options available in the main tab include:
- Home: Grants you an overview of your entire Shopify store at a glance.
- Orders: Allows you to track and manage orders.
- Products: Enables you to add/remove/modify product and product details. You can also use it to curate product collections, generate gift cards, etc.
- Customers: Records all the customer details, such as their personal information, order history, etc., making it easy to manage the customer.
- Analytics: Generates reports on sales performance, volume, etc.
- Marketing: Consolidates all details relating to all your marketing activities, such as sending out newsletters and mailers, promos, etc.
- Apps: Allows you to add a “little something” to your Shopify store using a range of Shopify apps or plugins.
- Themes: Allows you to add, update/change/edit your Shopify Theme.
Additionally, you can access an array of options under “Settings” to make changes to your Shopify store.
Step 4: Choose a Theme and Customize Your Store
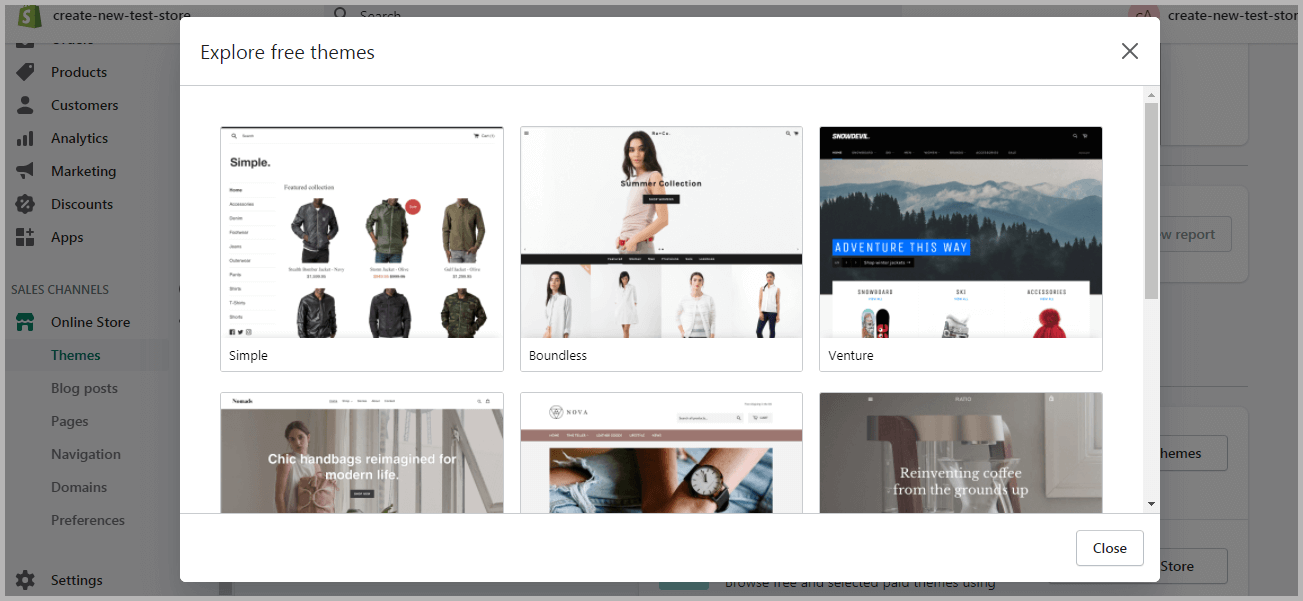
The default Shopify theme is generally plain and generic. If you look at the likes of top Shopify stores like Rebecca Minkoff and KKW Beauty, you’ll notice that customizing the themes is necessary for a solid brand image.
To change the theme of your Shopify store, you can choose one from the two ways:
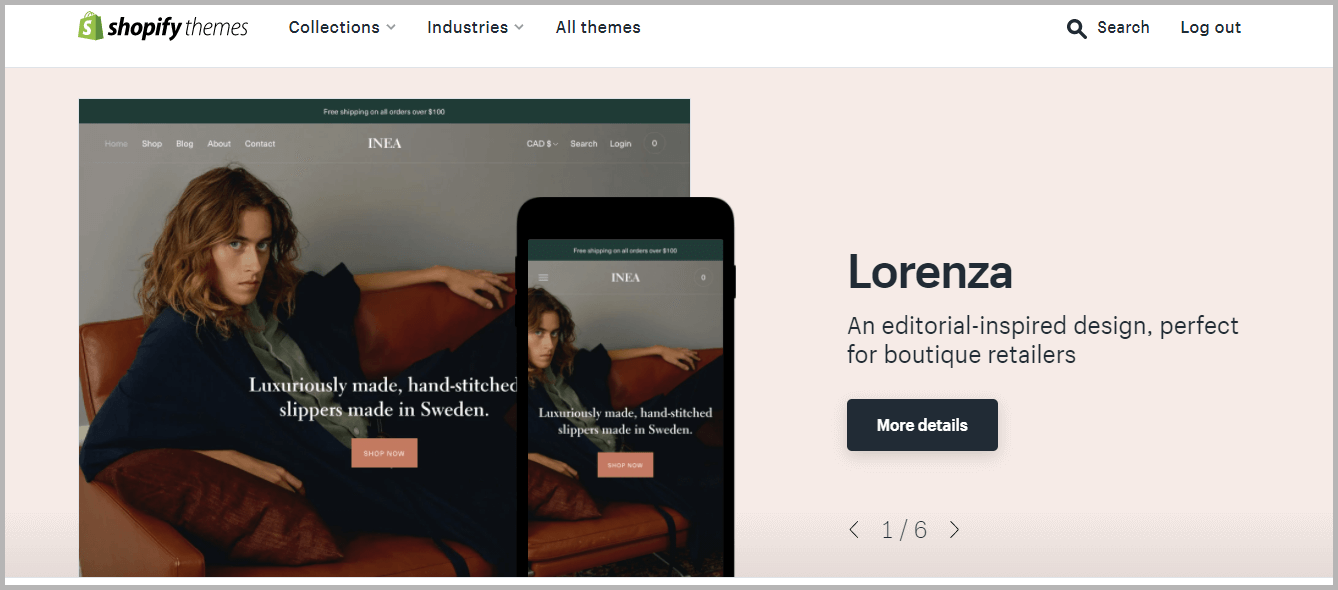
- Applying a pre-existing theme (free or premium) from the Shopify Theme library, or
- Creating a custom design.
It can be rather tempting to go for the former option. You get ready-made themes that you can directly add to your store (and some of them are even free!). But you will get fewer functionalities as compared to the custom designs.
Hence, the trick to starting a successful Shopify store lies in personalization. Getting a custom-made design will tweak the overall look and feel of your business.
But if you want to launch the store in a short time, you can temporarily choose a default theme and contact experts like Zestard to whip up a personalized theme for your eCommerce store!
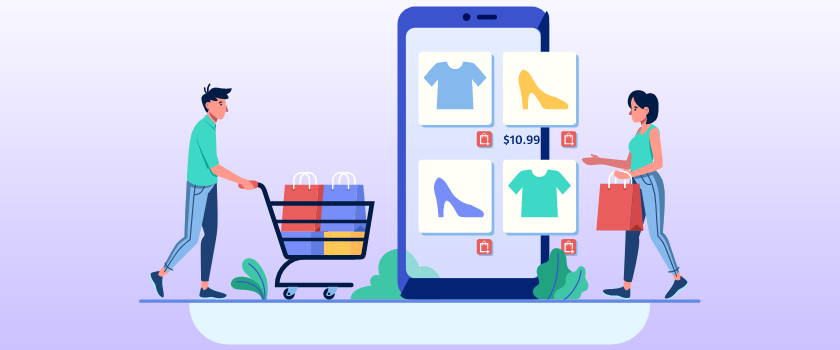
Step 5: Add Products
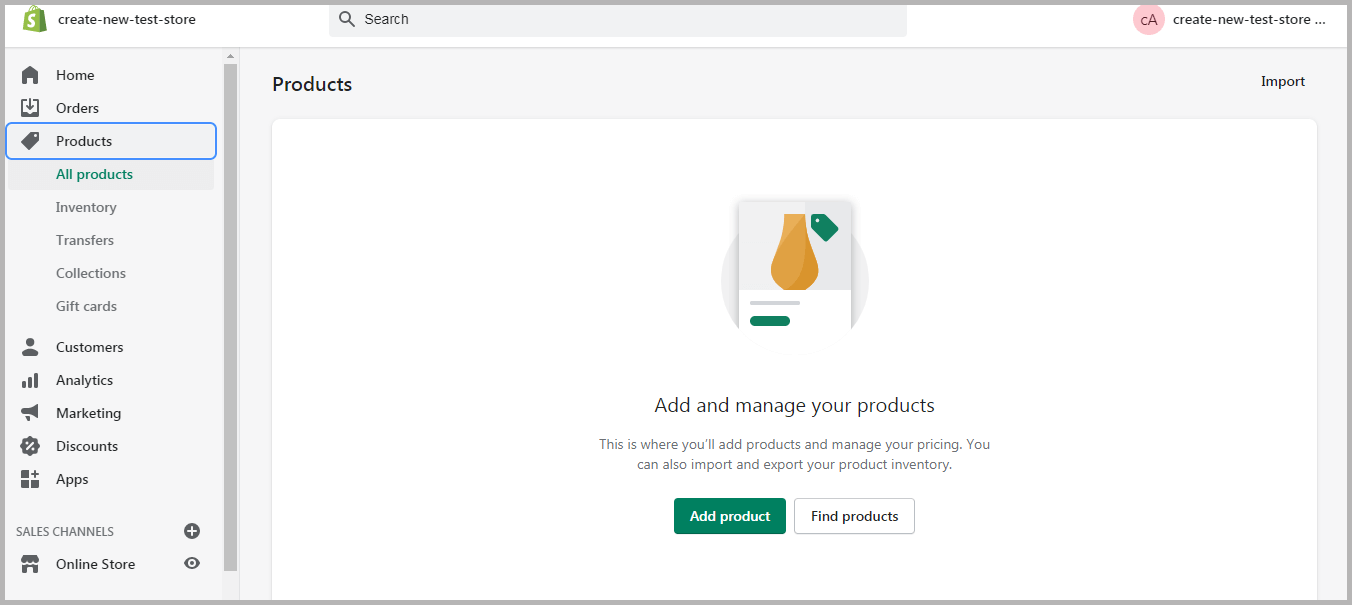
Once you have worked out the basics of your Shopify store, waste no second in adding your products to it. After all, it is the hero of your store!
Simply navigate to “Products” and then “Add products” to get started on creating a listing. After that, here’s what you need to keep in mind:
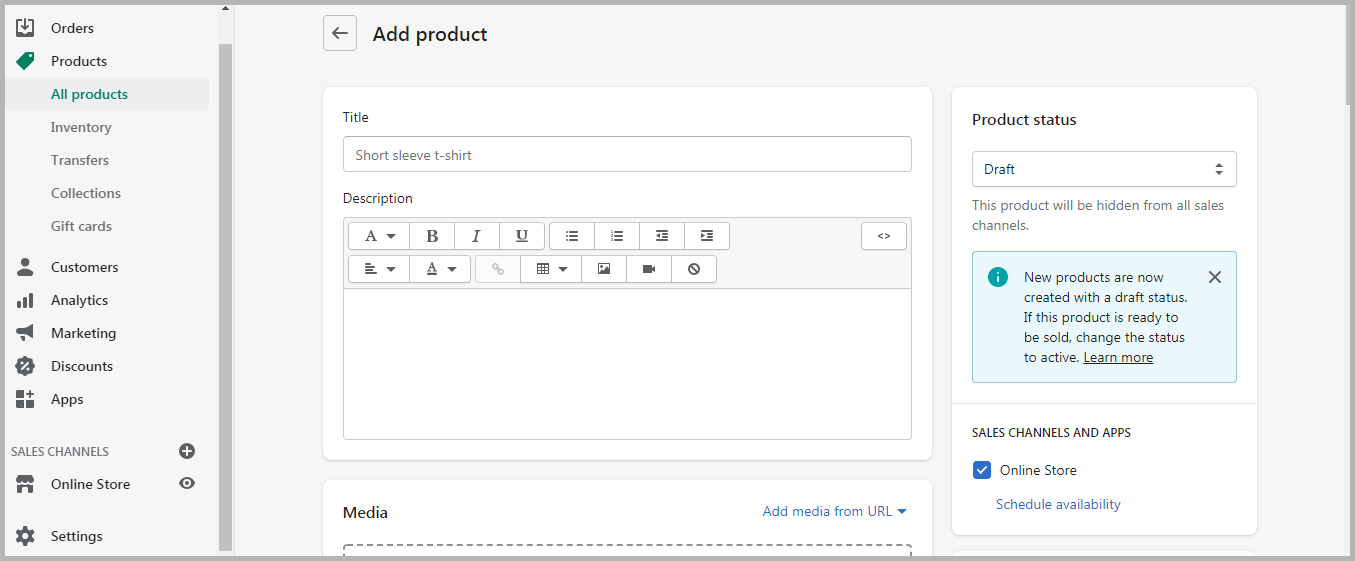
Start With the Product Title and Description
Product pages typically contain the crux of the information that a customer needs to make the purchase decision. Sharing the right inputs could tip the scales in your favor and give sales a boost!
Bear in mind the following tips while writing product titles:
- Make sure that product titles are catchy and self-explanatory.
- Use product variants (for example, trousers and pants) to offer greater visibility.
- Indicate any specifications such as the make, color, size, etc.
Next, here are a few standard best practices for writing product descriptions:
- Understand your target audience and craft the description accordingly.
- Emphasize any special features or functionalities that may make the product more appealing.
- Highlight any add-ons or incentives that come bundled with the product (think, no questions asked, return policy, free delivery, etc.)
- Pre-emptively address any FAQs or queries that your customers may have.
- Use headings, sub-headings, and bullets to make your product descriptions readable.
- Add personality to your product.
Add High-Quality Product Photos
A picture is worth a thousand words. So whatever limitations you might have encountered while writing your product pages, you can compensate for it using high-quality media!
Make generous use of photos, videos, 3D models, or GIFs to pique the customer’s interests. Displaying your product in its natural setting or in-operation can help seal the deal.
Here are a few more ideas for using media:
- Capture high-quality media content and edit it until you reach perfection.
- These media inputs should satiate the customer’s need for a sensory exploration of the product.
- Maintain consistency and uniformity throughout your store.
Let’s Talk Pricing!
Your product price plays a crucial role in determining whether it is a hit or a miss amongst your buyers. Set your item cost too low, and you will have buyers doubting the efficacy or quality of your product. Conversely, a high price point would discourage shoppers and decrease your sales.
So how does one strike the perfect balance? Here are a few strategies that may help:
- Retail pricing: Marking up the cost of the item with consideration for a profit margin.
- Manufacturer suggested retail pricing: Standardizing retail price as suggested by the manufacturer.
- Keystone pricing: Doubling the wholesale cost and setting it as the retail price.
- Multiple/Bundled pricing: Bundling multiple products together and determining the cost accordingly.
- Discount pricing: One of the most-loved strategies when the cost of an item is shaved off to attract more buyers.
- Psychological pricing: Also known as charm pricing, it involves ending your cost with an odd number (or a 9 to further improve its appeal) to trigger impulse purchases.
- Competitive pricing: Using your competitor’s pricing as a benchmark and outpricing them by slashing off your retail price.
- Premium pricing: Pricing your product above theirs to position it as a high-end offering.
- Anchor pricing: Displaying the original price and the discounted price to create an illusion that the customer has landed a deal.
One-stop solution for all your Shopify requirements!
Set up your Shopify store or migrate to one with Zestard’s Shopify Development services.
Managing Inventory
Unless you are dropshipping or offering on-demand services, you will have to keep track of the inventory. Inventory management maintains demand-supply balance and ensures business continuity.
While exploring the concept of inventory management, you may come across some recurring terms, such as:
- Stock Keeping Unit (SKU) for measuring, tracking, and managing the inventory of a particular product and its variants.
- Scannable Codes, such as Bar Codes, ISBN, GTIN, UPC, etc. to keep stock of all the movables.
- Quantity pertains to the number of items that are readily available for shipping. You can even indicate the quantity that is currently incoming.
Fortunately, Shopify offers several apps that can help with multi-channel inventory tracking and management.
Detailing Product Variants
The same product may be available in different colors, sizes, materials, etc. Hence, rather than adding it as a separate standalone product, you can display these as the variant of the primary items. You can ascribe different prices, images, and stock availability to these variants.
Step 6: Customize Shipping Settings
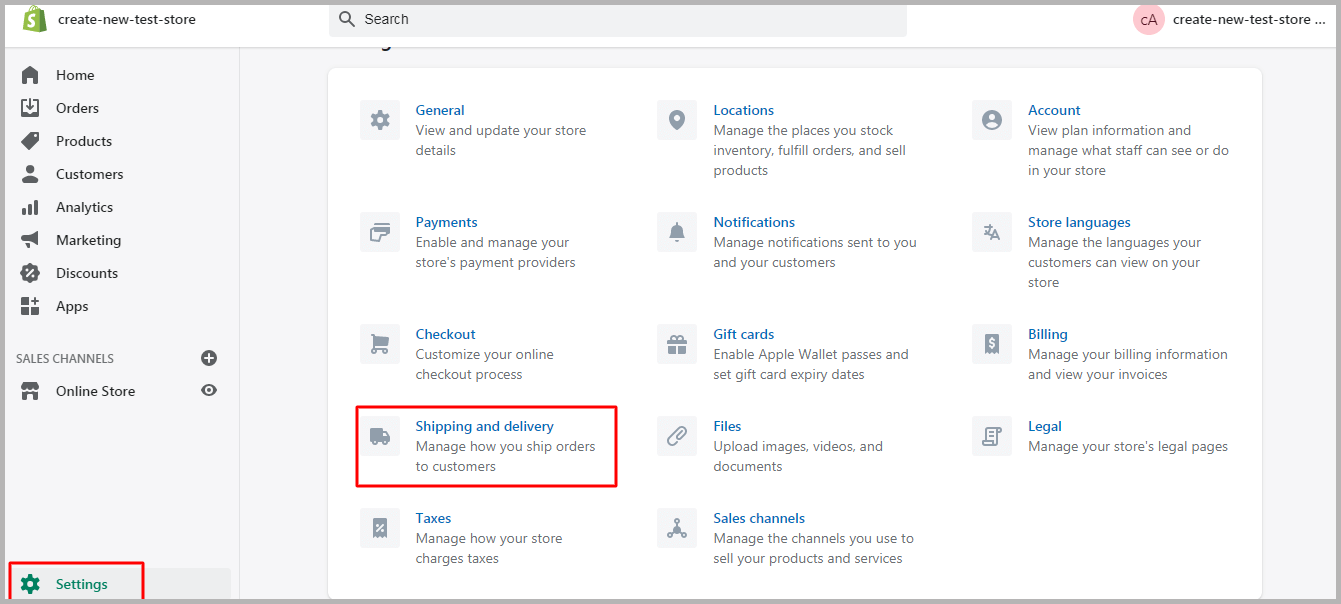
Making shipping-related decisions can get complicated. On the one hand, you need to ensure the cost-effectiveness of shipping your product regardless of the destination, size, or weight of the package. On the other hand, you cannot afford to lose a client because you levy shipping costs!
In an attempt to solve this conundrum, here’s what we suggest as the go-to shipping strategy for starting a Shopify store:
- Offer free shipping on a minimum purchase to encourage the customers to shop more. Such an incentive will increase your sales volume.
- Alternatively, you can absorb the shipping cost in the item price and sell it at no-cost shipping.
- Finally, you can charge a standard flat-rate shipping cost that seems justifiable. This strategy is best for when you sell products of the same weight and dimensions.
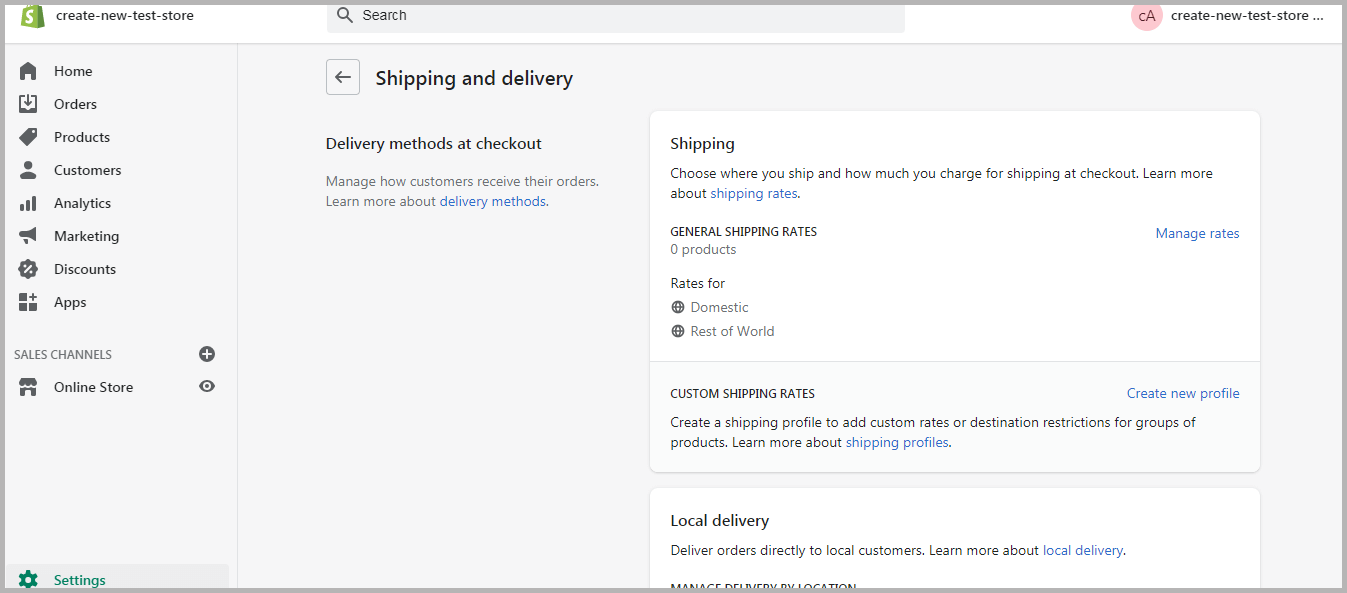
The above options are of great help, especially during the initial days of running the store. You can later review and tweak these as per the customer response and economic feasibility.
Step 7: Configure Tax Settings
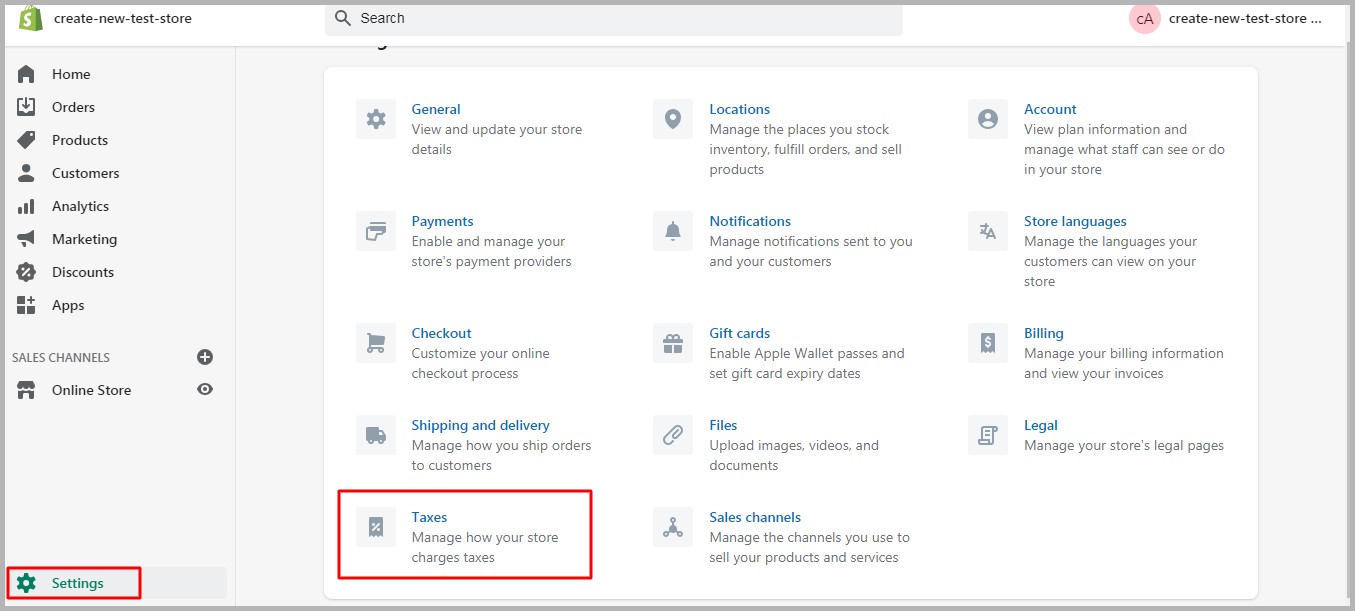
When thinking of starting a Shopify store, you must also consider ruling out issues that may stop your Shopify store. Local, national, and federal laws can bring your business to its knees if you fail to comply.
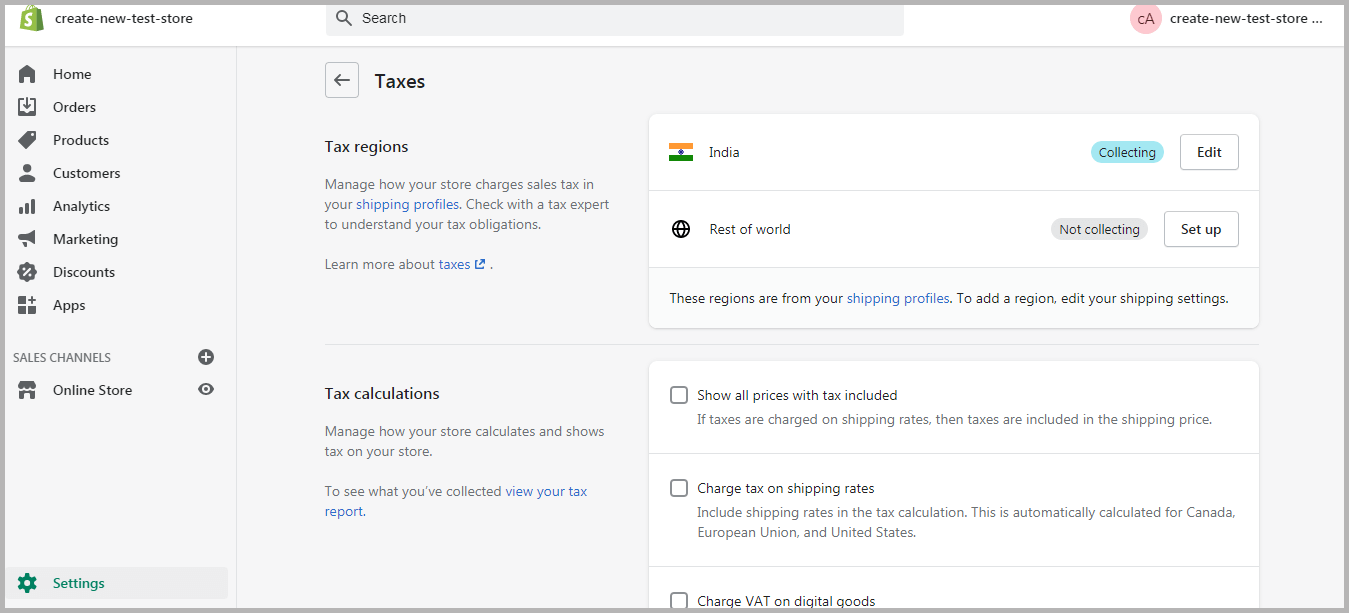
Depending on your state or country of operation, a part of your revenue goes to the government in taxes. Thus, to avoid any hiccups in your business administration, you must gain an understanding of the local tax regime and assess your liabilities.
Rope in a tax expert to help you navigate through this maze. Alternatively, Shopify has built-in settings for some of the most common products and regions.
Step 8: Set Up Payment Gateways
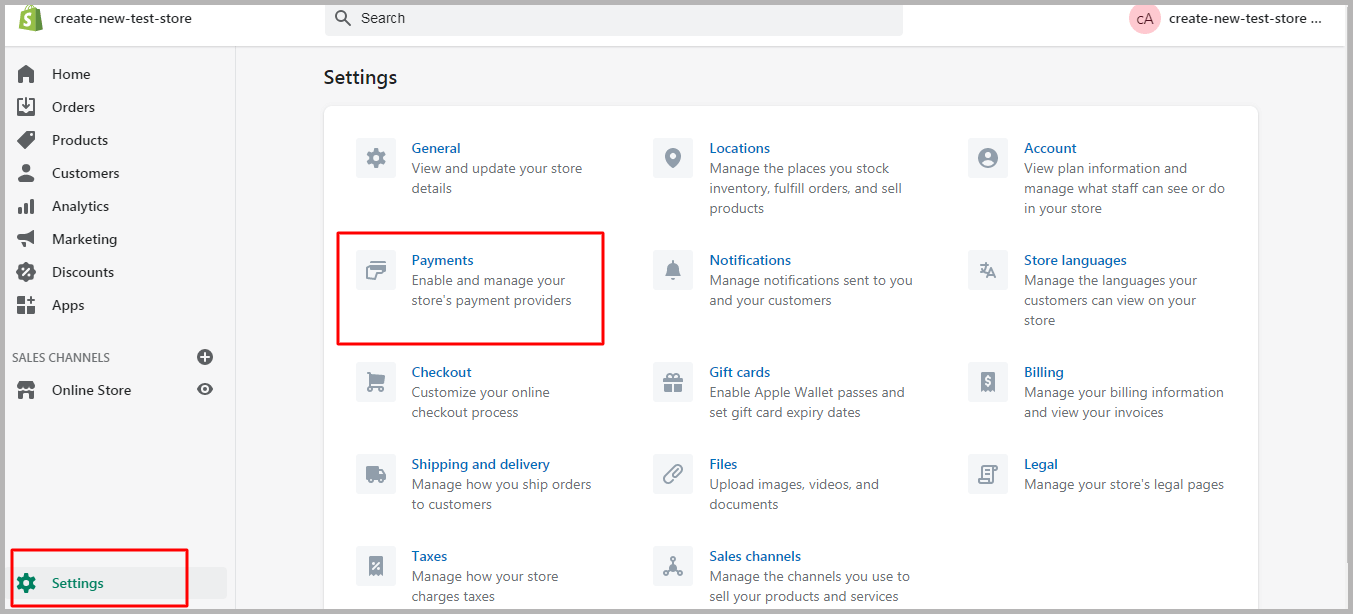
Setting up payment gateways marks the last lap of creating a Shopify store marathon. You can choose your payment provider under the “Payments” option of the Settings.
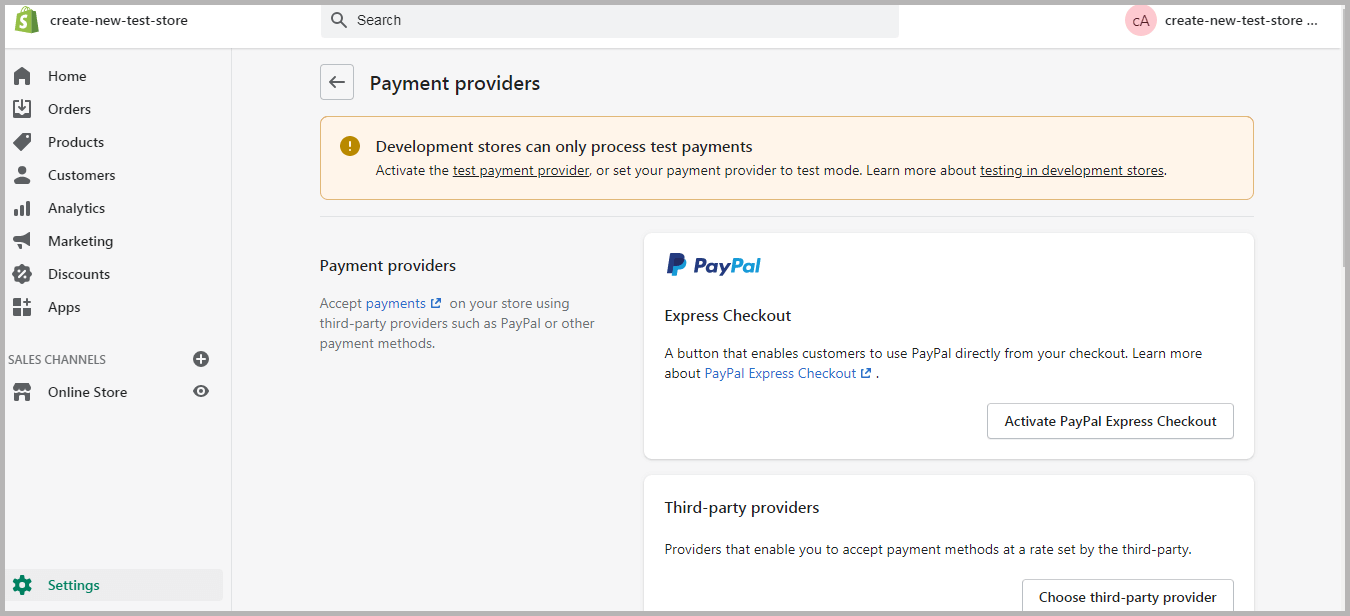
Small businesses can get started with Shopify Payments for its many benefits. For starters, this payment option attracts 0% transaction fees for orders unless you’re located in Sweden, Austria, or Belgium. Alternatively, you can accept payments through 100+ third-party payment solution providers.
Step 9: Create Helpful Pages
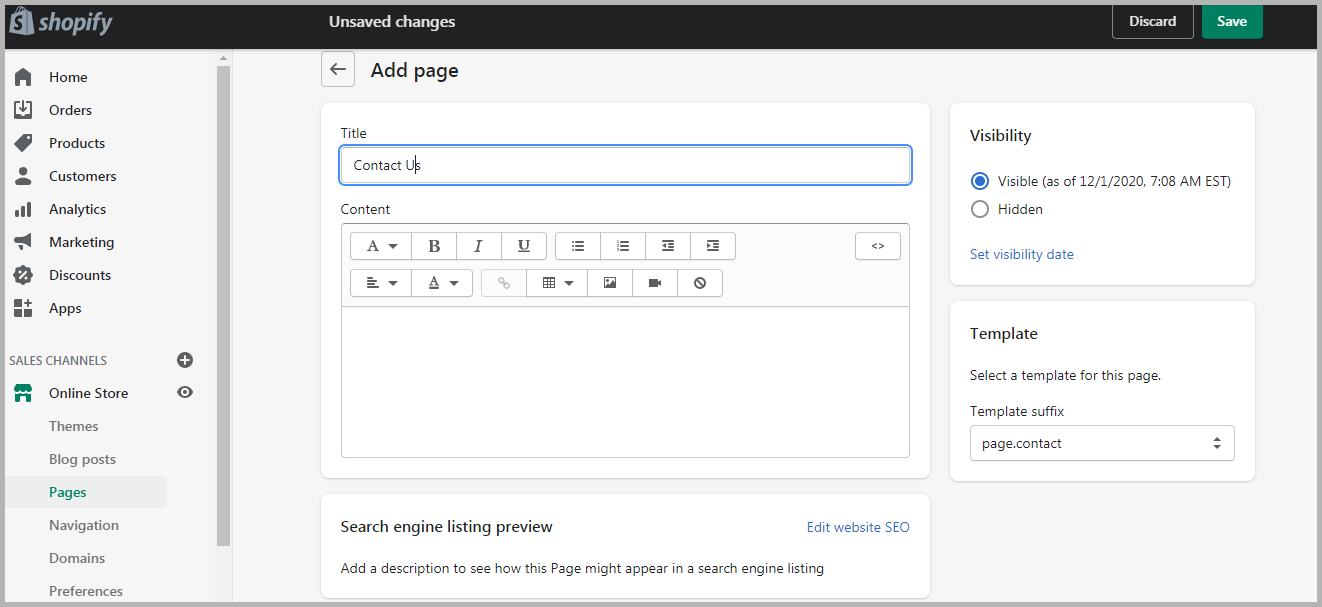
Now that you have managed to figure out how to build a Shopify store from scratch, it is time to focus on customer-centricity beyond product/services.
Apart from making sales, your store needs to tell your story. Sharing your journey via effective social media marketing or making yourself accessible is also a great way to earn your customers’ trust.
Accordingly, you could include some of these pages to lend credibility to your brand:
- About Me/Us: Do you have a back story you would like to share with your clients? Share it here! Use text, videos, and images to weave your journey. From stating your business objective to sharing personality quirks and weird facts about the founders – try everything that goes with your brand voice.
- Contact: How would you like your customers to reach you when seeking support? What are your business timings? Make all this information readily available on your contact page. Share your email ID, phone number, and link your social media handles. If possible, consider investing in a chatbot! Remember, having several channels for getting in touch will proportionately nurture trust and loyalty.
- FAQs: Surely, your teams may be bombarded with questions that get asked way too frequently. You can save time, effort, and resources by having a dedicated FAQ page to address these queries.
- Policy: Most stores have a well-defined policy regarding Terms of Use, Terms of Service, User Data and Privacy, Shipping, and Returns. Making all this information collectively available on your website can keep you out of potential legal trouble.
Step 10: Set Up Domain Name
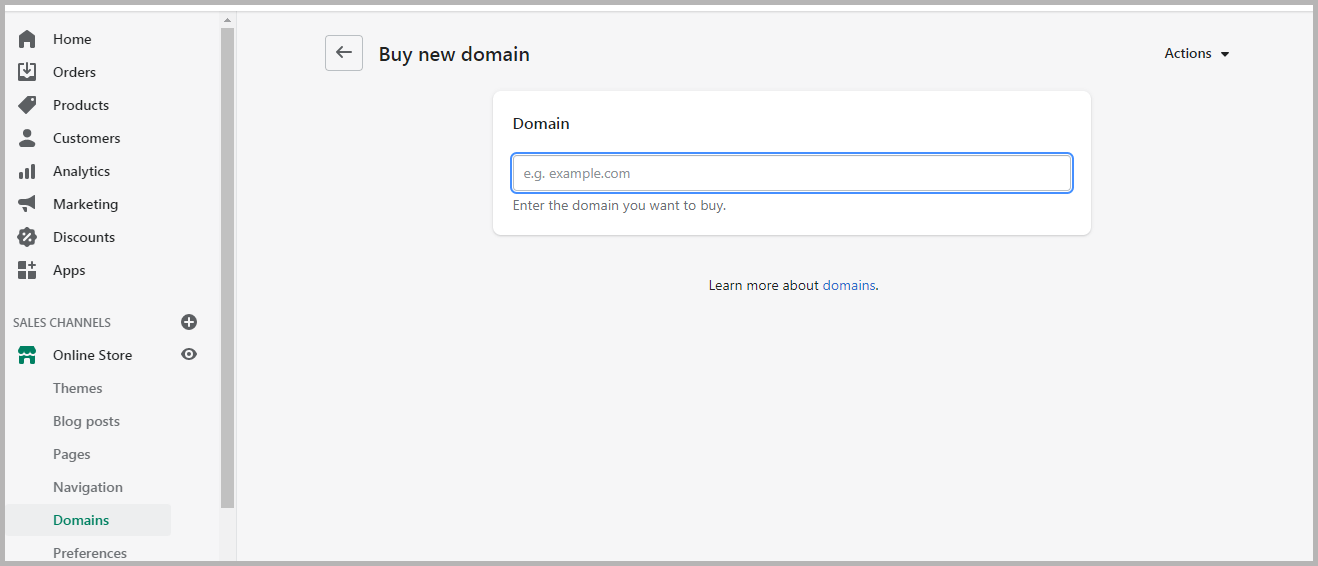
One of the most underrated steps of starting a Shopify store involves purchasing a custom domain on Shopify. Buying a custom domain is similar to digital real estate. It allows you to personalize your URL and modify it to reflect your brand.
Step 11: Launch Your Store
Finally, it is the D-day that marks the end of your Shopify journey!
Before hitting the launch button on your store, you can prep by installing all the relevant sales channels, setting up all email or text notifications, and initializing the tracking and analytics. That said, you can always skip these steps if you are in a hurry to go live and get back to it when you have the time.
Test your Shopify store the last couple of times, and when everything feels right – flip the sign to “We’re Open!” (For all the tech geeks, we mean remove the password page).
Consult a Shopify Expert

You may have covered all your bases through this intricately detailed guide on starting a Shopify store. Still, it wouldn’t hurt to gain some professional advice from the experts.
Consider getting a Shopify expert in the loop and get their opinion on your store before the big launch. Any expert worth their salt can make valuable contributions to the website, be it layout, optimization, settings, and more.
Even if you cannot implement their suggestions immediately, you can use those as pointers to devise a long-term roadmap. As such, this consultation will benefit your Shopify store in the years to come!
Conclusion
As mentioned previously, you cannot expect a masterpiece in your very first attempt. However, the trick to starting a successful Shopify store lies in consistency and continuous improvement.
You may take a few days or weeks to set up your Shopify store, but you need to dedicate a lot more time to perfect it. Capture customer feedback, read on the latest trends, observe your competitors, and work according to your findings. Spend every second to add value to your store once it goes live.
At this point, we conclude this guide on how to start a Shopify store. The ball is now in your court; get started!